TOTALE UITVERKOOP - GEBRUIK DE CODE 'YAY45' BIJ HET UITCHECKEN VOOR 45% OP DE COLLECTIE. SOLDEN ITEMS ZIJN AL AAN DE LAAGSTE PRIJS;. HAPPY SHOPPING !
Your cart is currently empty
Product image slideshow Items

1
The Portioning
Cut off the required amount with a knife and then cut it into small cubes; so that the soap melts equally and faster when heated: the smaller the cubes, the faster the melting process. You can melt the soap either in a water bath or in a microwave.
2
Melting in a pot
Fill the pot with water, put the soap cubes in a heat resistant vessel and place the vessel in the pot. Melt the soap slowly with low heat supply. The ideal melting temperature is approximately 60°C. Water and soap must not boil! The soap should the completely molten.
3
Melting in the microwave
Put the soap cubes into a microwaveable vessel and let them melt slowly at 500 watt. The soap must not boil! As each microwave is different, start with 1 – 2 minutes and extend the duration if necessary until the soap is molten.
4
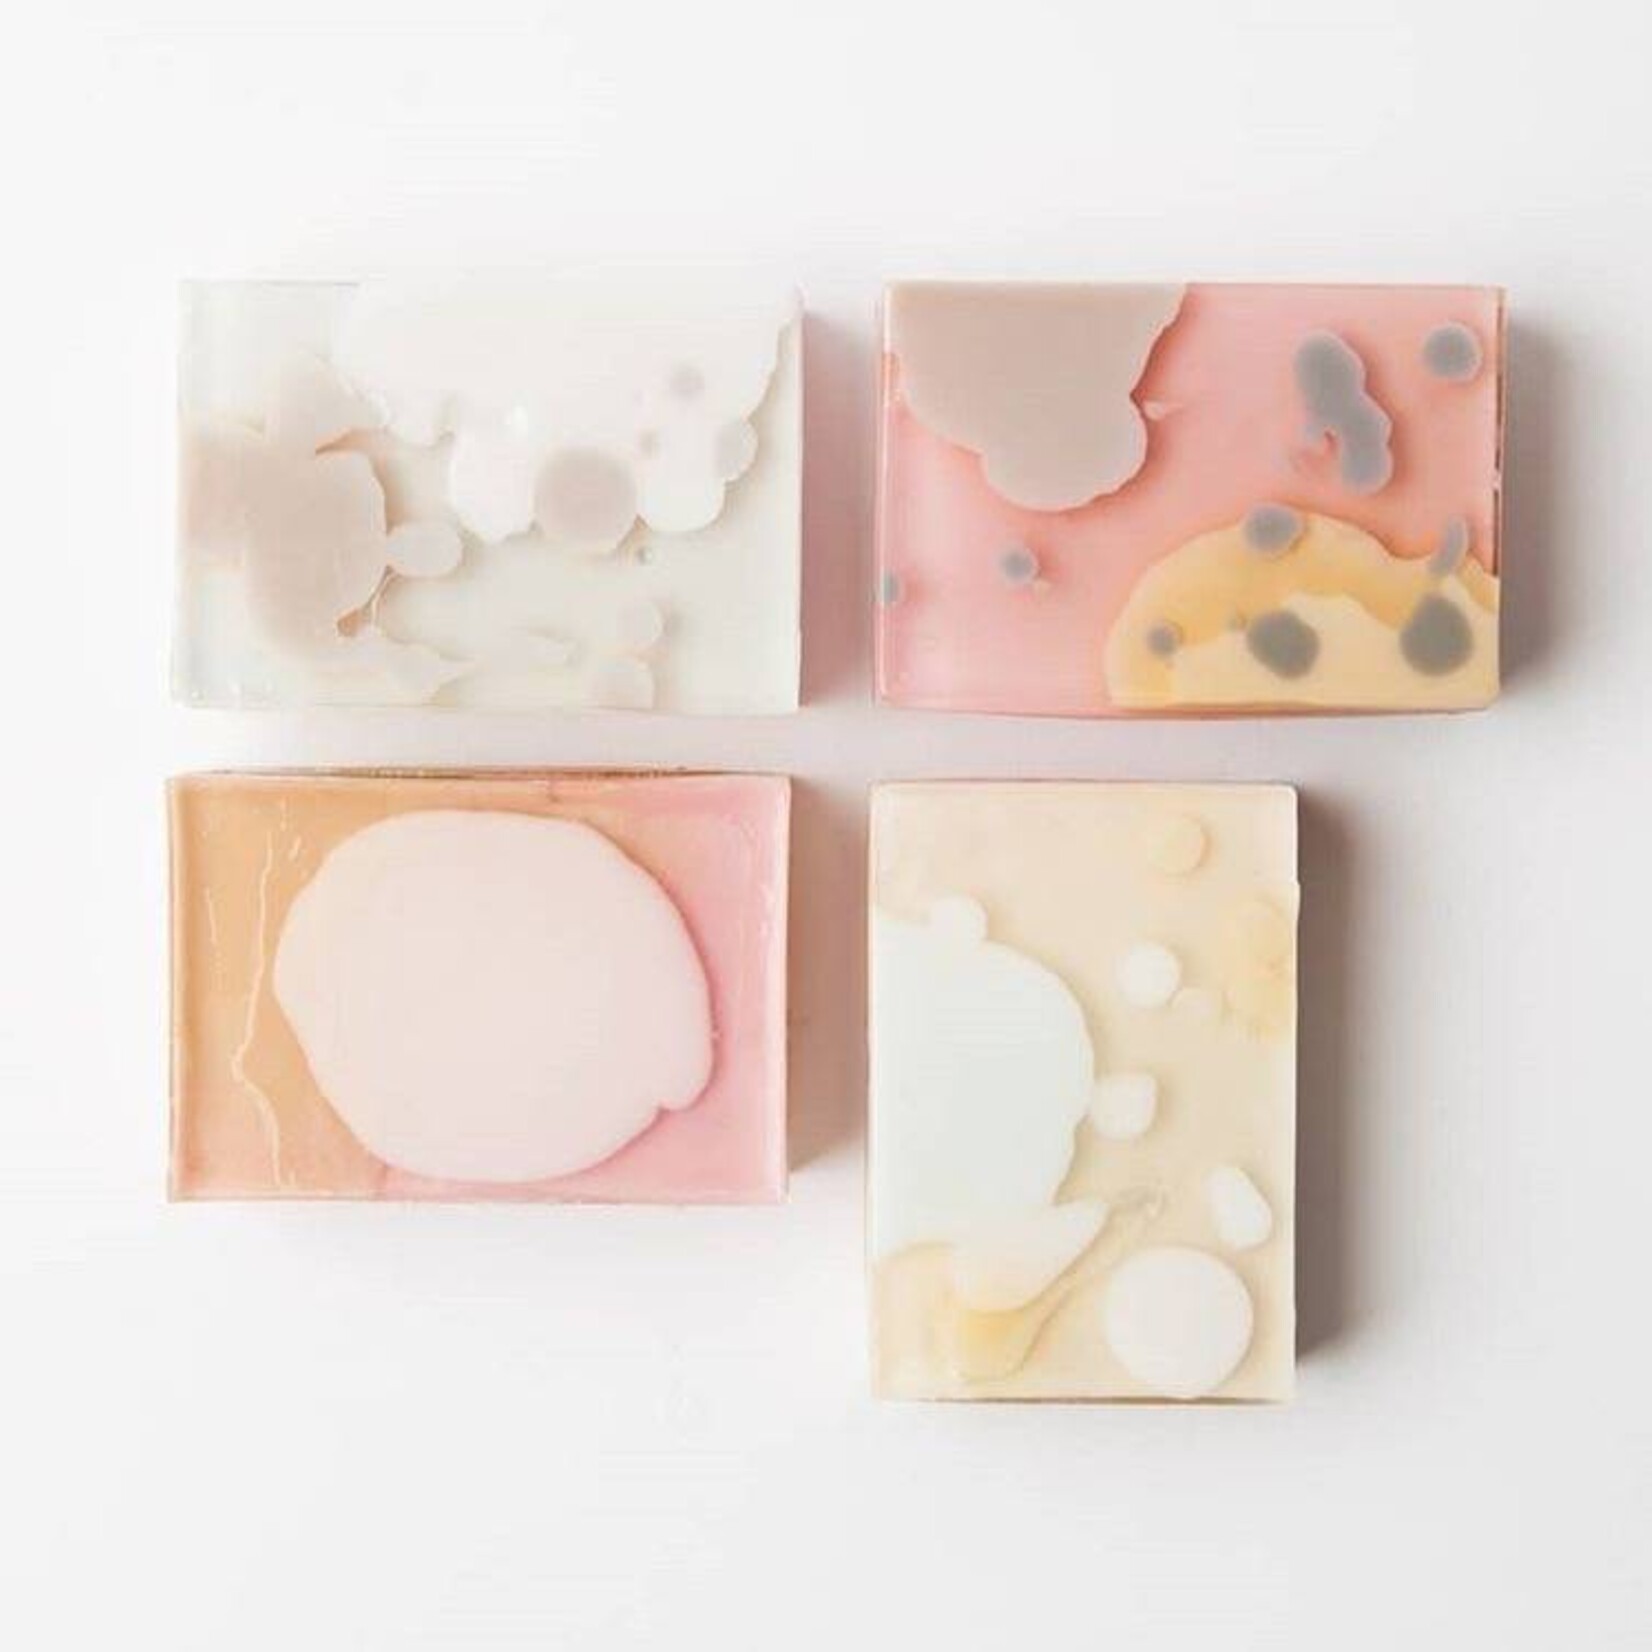
Fragrances and colours
The molten soap can be enriched with colours and fragrances. Let the required amount drip into the molten soap and stir slowly with a wooden stick, to avoid air bubbles.
5
Filling the moulds
Fill the blended soap into the moulds. To avoid air bubbles, pour the soap slowly and from a low height. If you forgot to add colours or fragrances, you can still add it now.
Tip: For multi-coloured soap, pour the soap into several white paper cups; so that you can create several colours and fragrances at the same time. If you would like to add caring oils as well, you have to use the cosmetic emulsifier.
6
Bubble formation
If there should be air bubbles in the soap after it has been filled in the moulds, use a wooden stick to smooth the soap and wipe it off over the edge of the silicone form or wait until thin skin is formed on the surface (like on milk). The skin can be removed carefully with the wooden stick.
Tip: Soap leftovers can be re-used
ÂÂ
7
Removing the soap from the moulds
Depending on the room temperature, the size of the soap and the layer thickness, the soap needs approximately 30 – 60 minutes until it is dried. When the soap feels cool and hard, the soap can be removed from the mould. Cut off any uneven bits at the edges with a cutter or a knife.
ÂÂ
8
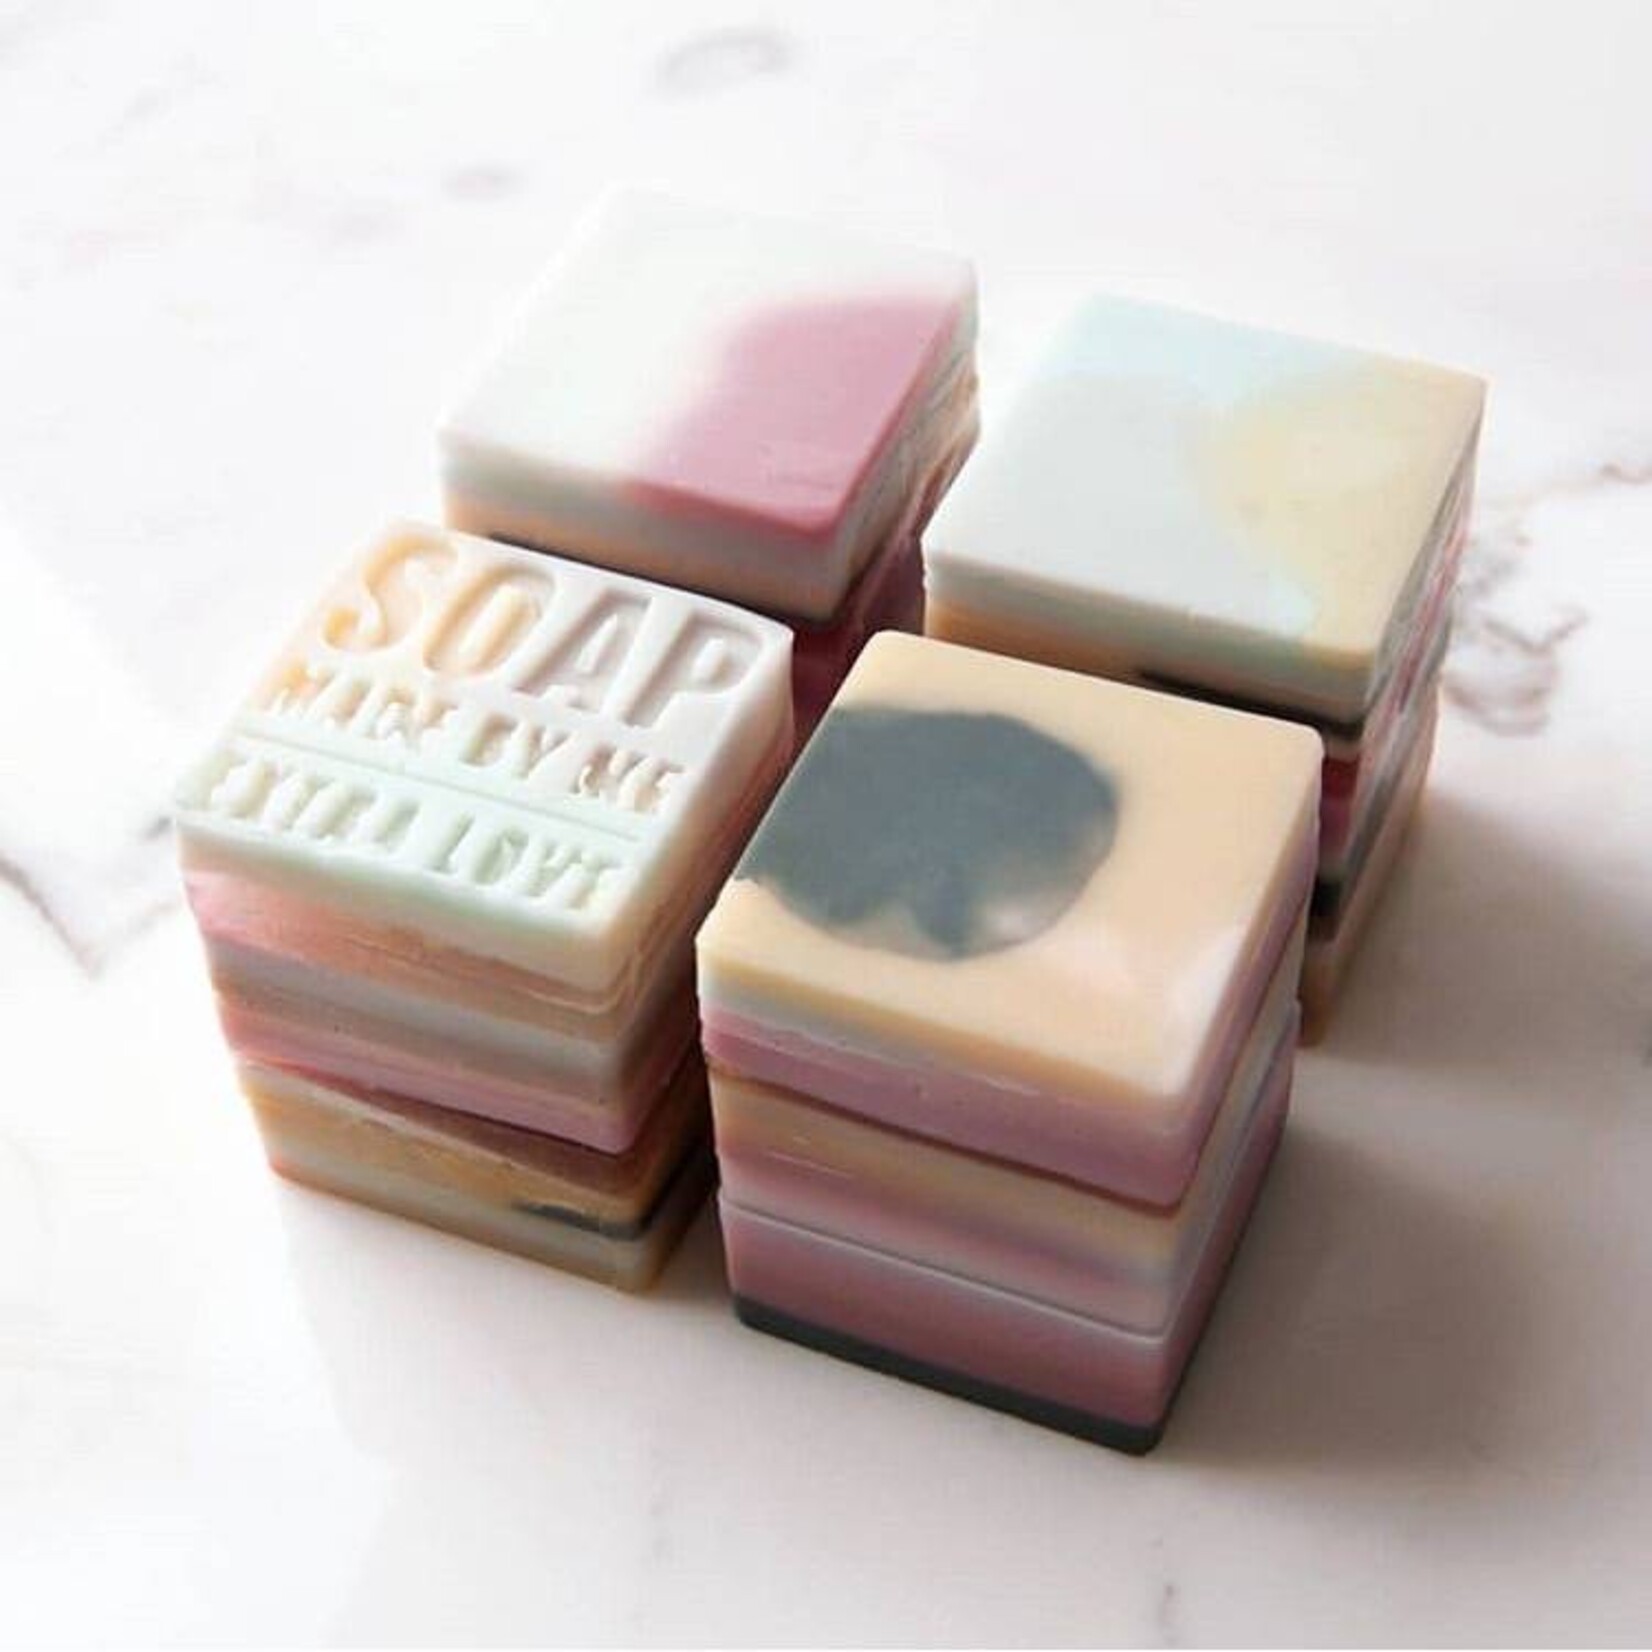
Usage of soap embossing forms
Place the soap embossing form in the mould. The mould and the embossing form should be clean and oil free. Firstly, fill in a thin layer of molten soap, so that the embossing form is covered completely. Wait briefly and then fill the whole mould with the warm soap. As long as there is no skin on the surface, the embossing forms can also be placed onto the soap when it is already filled in the mould. Once the soap is dried, the embossing form can carefully be removed by using a pointed item.
ÂÂ
9
Soap pigments
Gold and silver pigments create a great effect, especially in transparent soap. Use a wooden stick to add the desired amount to the molten soap and stir slowly. Great metallic effects can be created by adding soap colour.
Tip: Shiny highlights can be created be applying the powdery pigments directly onto the dried soap (with a soft brush or a sponge).
ÂÂ
10
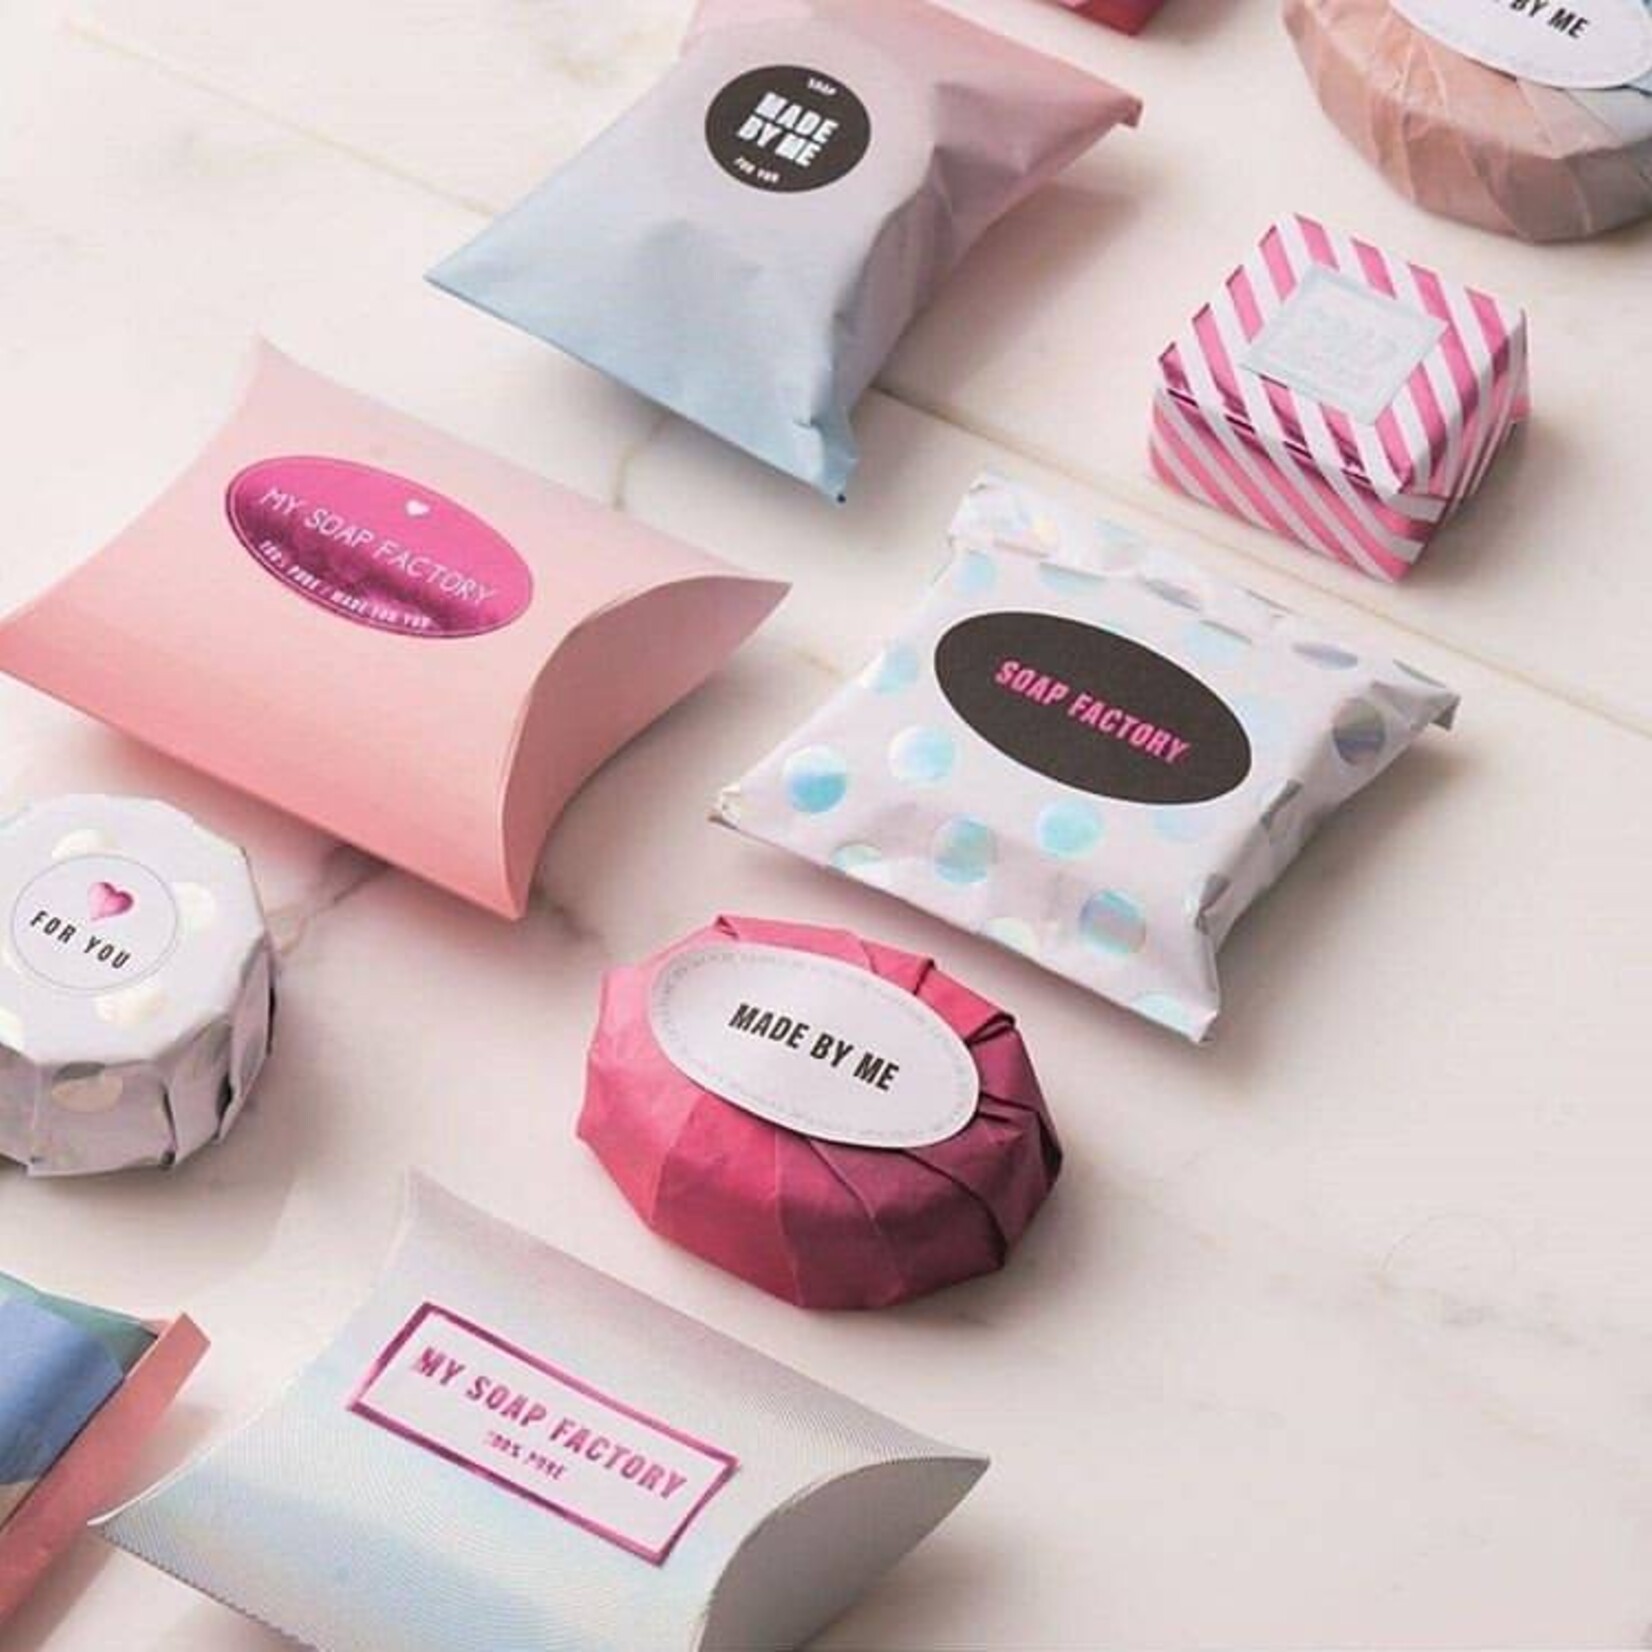
Storing and wrapping
Store the fresh soap pieces unwrapped in a dark, cool and dry place for 10 – 14 days. Afterwards, the soap can be kept in plastic wrap. Info: During the maturing process, small drops may occur on the soap pieces. This is not a quality defect. It is a result of the composition of the glycerine soap. The drops can be removed by rinsing the soap with water and let dry.